Saturday, 28 November 2020

Nativity box scene


For the final week of my Christmas mini series I decided to create a nativity scene  which had three different ways to display it. 

I took the exploding box concept and adapted it to suit my project. A video of the project being created is linked below.


https://youtu.be/dHajOginRgI

The measurements for the basic box were from Mixed up Craft but the adaptions are my own.

I have used the characters from Nativity by Craft Consortium and Helz Cuppleditch, the Dsp for the outside of the stable is from Cottage Garden which again is by Craft Consortium and Helz Cuppleditch, the stamp for the inside walls is by Docrafts.

Card Base:

4 pieces of 4 × 9" card, score on the longside at 4"

The lid is one piece of 8 × 8" cardstock scored at 1" and 2" on all four sides.

The Dsp has all been cut down by the smallest amount as I didn't require a boarder.

The circle dies used are 2 5/8" for the window, 3 1/4" for the acetate.

I also used a magnet for the closure and have since ordered rice lights to light the box from the inside.

Saturday, 31 October 2020

Double joy fold card


I am very excited to be doing my first mini series!

I have decided to use Nativity by Craft Consortium and Helz Cuppleditch for all the items that I am going to make for this Xmas mini series.

I am kicking off the series with a double joy fold card.

 The measurements and score lines can be found below as can a video of the card being created.


I look forward to sharing more fabulous creations with you during this mini series.


Card base

5 1/2 × 11" score at 4 1/4 & 8 1/2"

3 × 7" score at 3 1/2"

Mirror card 

4 pieces 3 3/8 × 2 7/8"

2 pieces 4 × 5 3/8"

2 pieces 2 3/8 × 5 3/8"

1 piece 4 1/4 × 5 1/2 ( cut a tiny piece off)

DSP

4 pieces 3 1/4 × 2 3/4"

1 Dsp and 1 white cardstock 3 7/8 × 5 1/4"

2 pieces 2 1/2 × 5 1/4"

1 piece 4 1/8 × 5 3/8" cut a small piece off

Also needed is something to decorate the card with and a small topper.

https://youtu.be/l1_bDaIH0I4

Thursday, 8 October 2020

Quadruple fold card

Today I am sharing how to make a quadruple fold card. It is a very easy card to make with minimal scoring and cutting.

The video tutorial for this card can be found by following this link

https://youtu.be/PXom1zW0luc


The base is made of a piece of 12 x 6" card stock, which you score at 2,4,6 & 8".

The matts and layers are listed below, please note all measurements below will show the width as the first measurement and length as the second 

Mirror card

2 pieces - 1 7/8 × 5 7/8"

4 pieces - 1 7/8 × 7/8"

2 pieces - 1 7/8 × 3 7/8"

1 piece  - 3 7/8 × 5 7/8"


DSP

2 pieces - 1 3/4 × 5 3/4"

4 pieces- 1 3/4 × 3/4"

2 pieces - 1 3/4 × 3 3/4"

White card

1 piece  - 3 3/4 × 5 3/4"

Tuesday, 25 August 2020

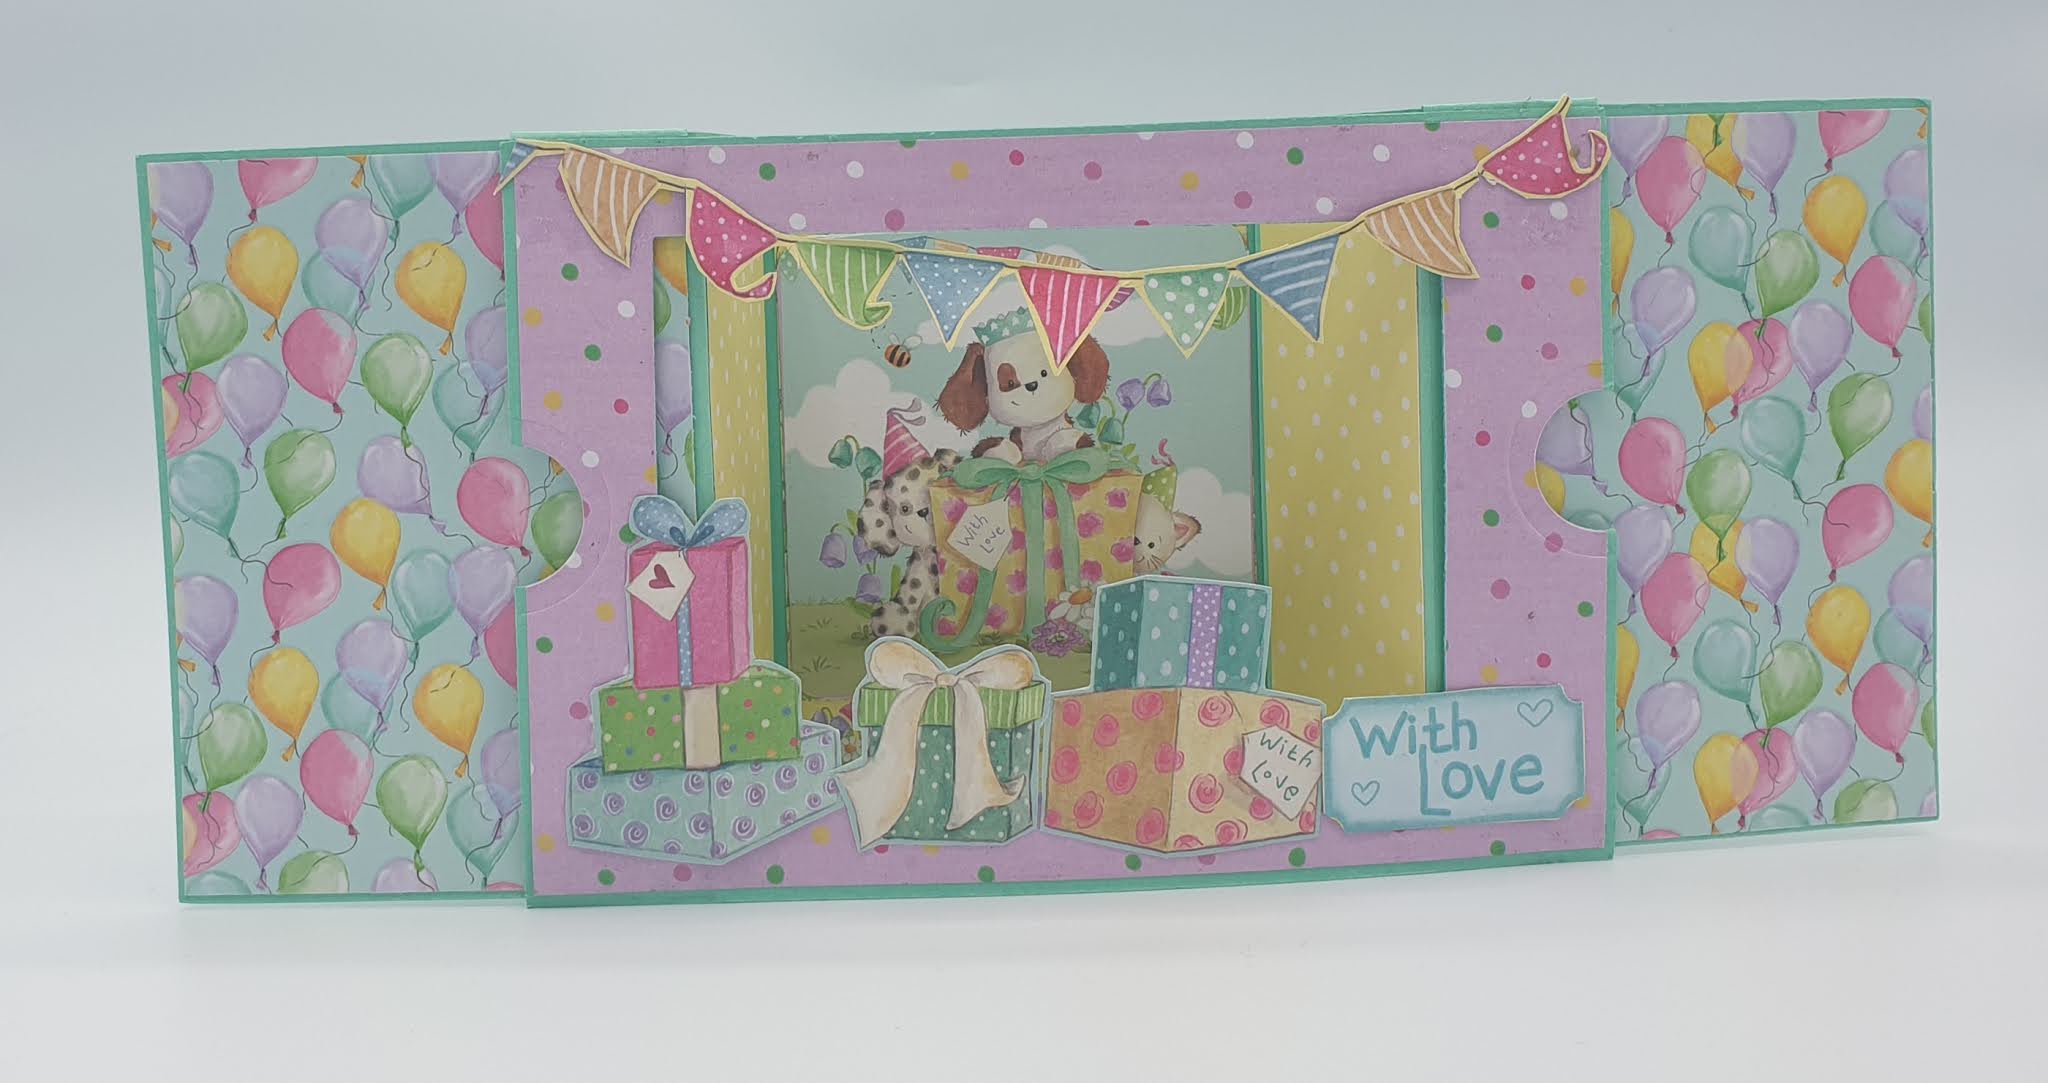
Theatre Set Card


This week I have made another Theatre Set Card.


I first found these on the pop up channel but they are very popular in the craft community at the moment and there are many resources available on how to make this card.

I have filmed a video of my take on this card and it is available on my YouTube channel, https://youtu.be/c_pxDB5ONU8


the measurements and scoring details are below.

Cardbase:

4 pieces 6 × 4 1/8"

2 pieces 5 1/8 × 1"


DSP:

3 pieces 2 7/8 × 4"

1 piece 5 7/8 × 4"

2 pieces 1 3/8 × 4"

*4" is the height when working with the DSP, be careful when directional paper, to ensure the pattern goes the correct way *


Scoring:

You will need to score two of your 6 × 4 1/8" pieces at 1 1/2" and 3" on the long side.


Tuesday, 28 July 2020

Triple Time Stamping

Triple Time Stamping


This week I have been revisiting Triple time stamping. It is such a lovely technique to play with and I absolutely adore the effect.

For the video of how I created this card please follow the link

https://youtu.be/OYnJtJ56rEQ

For this card I used:

Water colour card -

2 × 3 1/4"
3 × 4 1/4"
4 × 4 1/4"

Colour card stock

2 1/4 × 3 1/2"
3 1/4 × 4 1/2"
4 1/2 × 5 1/2"

I hope you enjoy this technique

Xoxo

Tuesday, 21 July 2020

Pop Up Book Card


I recently made a pop up book card using Tonic classic card for the base in Cherry Red and Spearmint green.

I then used glitter card from Printable heaven and Christmas Village by Trimcraft and Helz Cuppleditch to decorate the card.

The measurements are below and I have linked the tutorial from my channel at the end of this post.

Card base 6 x 12"
Mechanism 11 3/4 x 5 3/4"

Glitter card:

4 - 3 1/4 x 1 1/4"
8 - 2 3/4 x 1"
2 - 5 3/4 x 5 3/4"

Dsp:

4 - 3 x 1 1/8"
8 - 2 5/8 x 7/8"
1 - 5 1/2 x 5 1/2"

Plain card

1 - 5 1/2 x 5 1/2"

For the video of how to create this card please click on the link below

https://youtu.be/7C-0XAkLcHQ

Wednesday, 15 July 2020

Small ribbon bows

It has been a little while since I did a blog post as I have been doing a lot of tidying, stash building and running around after the baby!

This week I decided to have a go at making my own bows, I have a lot of ribbons in my stash and I don't use them enough so I thought this would be a fun way of using some of them.

I got a little carried away as they are so quick to make and you can also embellish the middle with gems etc that you already have.

I filmed a video for my YouTube channel which I have linked below. 


I now have lots of pretty bows that I can either use on my projects or send out in happy mail.

Xoxo