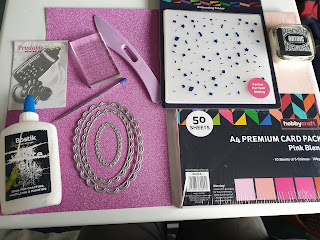
You will need: 3 x oval dies in varying sizes.
Pink premium card, wet glue, baby bottle die, celebrations embossing folder, black ink, foam pads, die cutting machine, stamp block and sentiment stamp.
Take a peice of dark pink card and cut it to 3 3/4" x 10" saving the left over card for later, fold in half and place the largest die slightly overhanging the fold line as shown.
Run through a die cutting machine and peel away the excess you will then have your card base as shown.
Take the excess card you saved earlier and cut one more large oval this time with no overhang.
Next take a peice of light pink card and cut it to 5.5"×5.5" place this into the embossing folder and run through a die cutting machine. Take the middle sized oval die and cut 2 ovals from the embossed cardstock.
Next you need to cut one baby bottle from the glitter paper and carefully remove the detail. Keep 3 of the s shape swirls for later.
Adhere the bottle to a light pink oval and then attach the light pink oval to the single large dark pink oval you cut earlier.
Take the card base and open it so the Ovals are one on top of the other. Adhere a light pink oval to the bottom of your card base.
Fold the top oval in half to the score line and burnish.
Adhere the single oval with the baby bottle to the folded over top of your card base.
Take the smallest die and cut it out using the dark pink cardstock. Stamp a thank you sentiment on and then decorate using the glitter swirls from earlier.
Attach this to the bottom oval of your card base using foam pads so that it holds the top of your card in a standing position when rested behind it. You now have a beautiful Oval Easel Card.


